You’ve spent many hours designing artwork, and you can’t wait to send it to the printers so you can get your hands on the finished product. The last thing you want is for the printers to tell you there’s a problem with the artwork, or worse, for the artwork to be printed incorrectly! In this guide, we’ll help you ensure that when you need printed booklets, the artwork is correct.
Include a Bleed Area
When you are creating artwork for print, it is important to leave a bleed area. The bleed area is the part of the design that will be trimmed off when the piece is finished. This ensures that your design goes to the edge of the paper. It is also important to extend any background colours or images into the bleed area so that there is no white space on the edges of your design.
Use High-quality Images
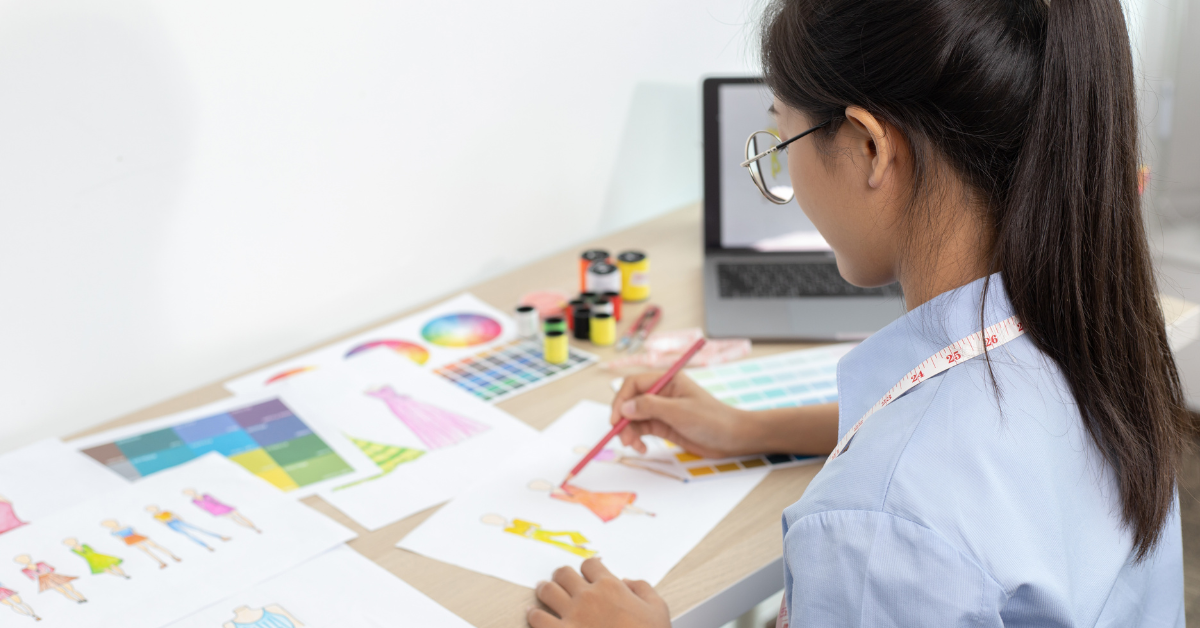
It’s no secret that high-quality visuals are key to catching attention and delivering a message that resonates with your audience. So whether you’re designing a booklet, magazine or eye-catching poster, using high-quality images is essential to achieving your desired results.
While some designers prefer to use low-resolution images or even clip art, these visuals can compromise the overall quality of your design. When it comes to print artwork, using high-quality images is non-negotiable if you want your design to look its best.
So, where can you find high-quality images for your print artwork? There are a few different options:
Stock photos
You can purchase stock photos from sites like iStockphoto or Shutterstock. Just be sure to choose an image with a large enough file size that photos will look sharp when printed. No one likes pixelated images!
Vector files
Vector files are perfect for printing because they can be scaled up or down without losing quality. You can find free vector files online or purchase them from vector file websites.
Original photography
If you have access to a photographer, commissioning original photography for your project is always an option. This will give you complete control over the final product and ensure that your visuals are one-of-a-kind.
Save Artwork as a High-quality PDF
To ensure your design comes out in high-quality, make sure to save artwork as a high-quality PDF.
Use CMYK Colours Only
When printing your artwork, it’s important to use only CMYK colours. This ensures that your colours will print accurately and look their best.
To convert your colours to CMYK, open your artwork in your favourite design program and convert the colours to CMYK. You may need to experiment with different colour conversions to find the one that looks best for your artwork.
Once you’ve converted your colours to CMYK, be sure to proof your artwork before sending it off to be printed. This will ensure that you’re completely happy with the final product.
Embed All Fonts Within Your Artwork
When you’re creating artwork for print, it’s important to make sure all of the fonts are embedded within your file. This ensures that the text will print correctly, no matter what fonts are installed on the printer’s computer.
To embed fonts in your artwork:
- In your chosen design program (e.g. Adobe InDesign or Illustrator), open the Settings menu and look for an option related to fonts or type.
- Enable the option to ’embed fonts’ or ‘include type.’
- Save your artwork file.
Now all of your fonts will be embedded within your file, and you can rest assured that your text will print correctly!
Save Your Artwork in the Right Size
When you’re working with artwork for print, it’s important to make sure that the file you’re working with is the right size. If it’s too small, it won’t print well, and if it’s too large, it will look unprofessional. You can easily get help printing your artwork in specific sizes. For example, you can get a booklet A5 – 5.5 x 8.5 inch.
Below are a few helpful tips on how to save your artwork in the right size:
- Make sure the dimensions of your file are appropriate for the final product.
- If you’re unsure of the dimensions, start with a larger file and resize it down as needed. It’s easier to resize down than it is to enlarge a small file.
- Be aware of resolution when sizing down your artwork. If you have a low-resolution image, enlarging it will only make the pixels more apparent. Resizing an image to 50% of its original size will usually suffice in terms of quality.
In Summary
Whether you’re a seasoned graphic designer or just starting out, understanding how to create print-ready artwork is essential to your success. We hope this short guide has given you a good foundation for creating high-quality artwork that looks great in print. If you have any questions or concerns, don’t hesitate to ask your chosen printing company for help. With a little practice, you’ll create beautiful print-ready artwork in no time!