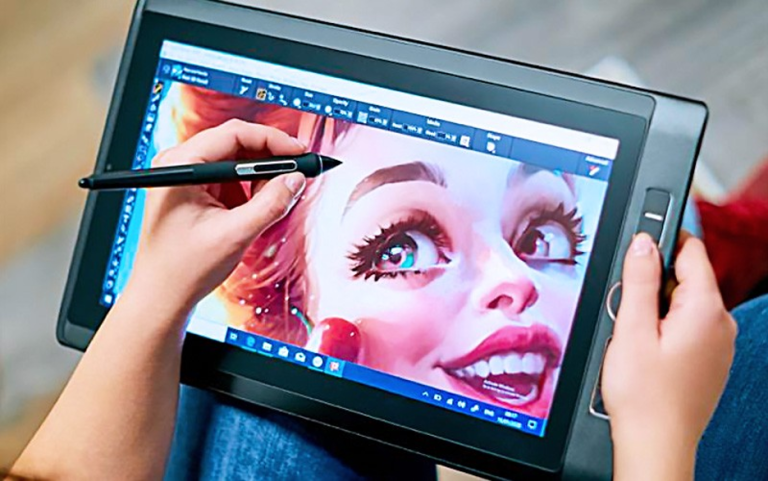
Wacom tablets are recommended for photo editing due of their well-established reputation, high quality (especially in terms of pressure sensitivity and tilt control), ease of use (especially in terms of shortcut buttons and customization of express keys), and precision (in terms of the stylus). So, what’s the best Wacom tablet for photo editing?
That, of course, is a question of your specific needs and available resources. Here, you’ll discover a comprehensive rundown of the market’s top options, complete with information that should make it easy for you to make an informed decision.
Can You Edit Photos with a Wacom Tablet?
With a Wacom Tablet, you can fine-tune every aspect of your edited photos. Using a pen tool and a Wacom Tablet, Photoshop lets you make changes and modify photos intuitively.
With modern tablets and sophisticated programs like Lightroom and Photoshop, you can fine-tune the final product to the individual pixel. You can edit face flaws, you can whiten teeth, can adjust hair color, and you can add volume.
1. Wacom Intuos Pro Small Bluetooth Graphics Drawing Tablet

Image Source: wacom.com
The price makes the Wacom Intuos Pro one of the most accessible tablets with professional features released by Wacom. In addition, the Intuos Pro Small, the more portable sibling of the Intuos Pro Large, edits on the go a breeze.
The Intuos Pro Small, which comes bundled with the Wacom Creative Pen for precise editing, features a smaller working space than most of the other tablets in our roundup at 157.48 × 98.43mm (6.3 x 3.9 inches). However, we found that it still offers plenty of room to make the necessary edits to our photographs.
Additionally, the tablet’s ExpressKeys and Touch Ring are fully programmable, which suits our preferences, providing a tailored editing experience and optimal tablet performance.
Pros
- Built-in screen resolution
- Affordable
- Portable
- Sensitive and useful stylus
Cons
- No screening
- Small working area
2. Wacom Cintiq 16 Drawing Tablet
Image Source: wacom.com
With the removal of the “Pro” classification, Wacom announced the Cintiq 16 as a more affordable tablet, with the intention of attracting photo editors who had been on the fence about getting a tablet.
The Wacom Cintiq 16 is still a great entry-level purchase and ideal for a Lightroom workflow, despite the price being a touch steep and more expensive than something like the Huion H430p. Its Full HD LCD screen is enjoyable to use and lets us immediately focus on the part of the image we are looking at. This works nicely with the Pro Pen 2 pen that is provided.
Although the 72% color gamut shouldn’t be a problem for most simple photo changes, we noticed very little variation in how the image appears on the tablet versus the computer screen when using a high-end display.
Pros
- Built-in screen resolution
- High pen pressure sensitivity
Cons
- Entry level
- Lower color gamut
3. Wacom One HD Creative Pen Display

Image Source: wacom.com
Launched at the beginning of 2020, the Wacom One is the company’s premier entry-level graphics tablet. Although its 13-inch screen size isn’t the largest available, it’s still portable enough to bring along with our laptop when we’re on the road, and we can even link it up with some Android devices.
The included pen doesn’t require batteries and has a surface that’s been described as being more akin to paper than glass, making it ideal for individuals who wish to use it as an alternative to a mouse while creating digital artwork. If we didn’t want to use the surface flat on our desk, the included feet allowed us to raise it to a modest incline.
Pros
- Affordable tablet
- Portable
- A4 display area
Cons
- Small surface area
4. Wacom Cintiq 22 Creative Pen Display
Image Source: creativebloq.com
This tablet is one of the most sought-after ones on the market right now for designers and artists, and it’s also a great option for photographers.
Even if 1920 x 1080 resolution isn’t as high as we’d like, the huge 22-inch screen’s ability to display more than 16.7 million colors results in incredible depth and richness of detail, and drawing with the Pro Pen 2 on it is a wonderful experience.
The Cintiq 22HD, like many of the other Wacom tablets on this list, has ExpressKeys that can be programmed with our preferred functions in order to streamline our workflow. Even though it’s not cheap, this cutting-edge piece of technology is well worth the investment if we’re serious about editing at a professional level.
Pros
- Wide viewing angle
- High sensitive screen
Cons
- Pricey
5. Wacom Cintiq Pro 16 Creative Pen
Image Source: wacom.com
The Cintiq Pro 16 was replaced by the most recent Wacom drawing tablet, which was released in October. That premium tablet was equipped with a stunning 4K display, 8,192 pressure levels, and compatibility with the Pro Pen 2. Actually, there wasn’t much room for improvement in terms of internals. For this reason, improved ergonomics is the primary focus of the new layout.
In particular, the tablet’s adjustable stand now comes with a redesigned VESA mount for even greater positioning freedom. To activate or deactivate multitouch, a physical button is provided. A total of eight brand-new ExpressKeys are available for incorporating and tailoring existing keyboard shortcuts and modifiers. Also, the USB and HDMI ports have been moved to the top of the device.
Pros
- Lightweight and portable
- Compact
- Great design
- An upgrade from the older version
Cons
- It is easily confused with an older version
6. Wacom Intuos Pro Large with Smooth Texture Sheet
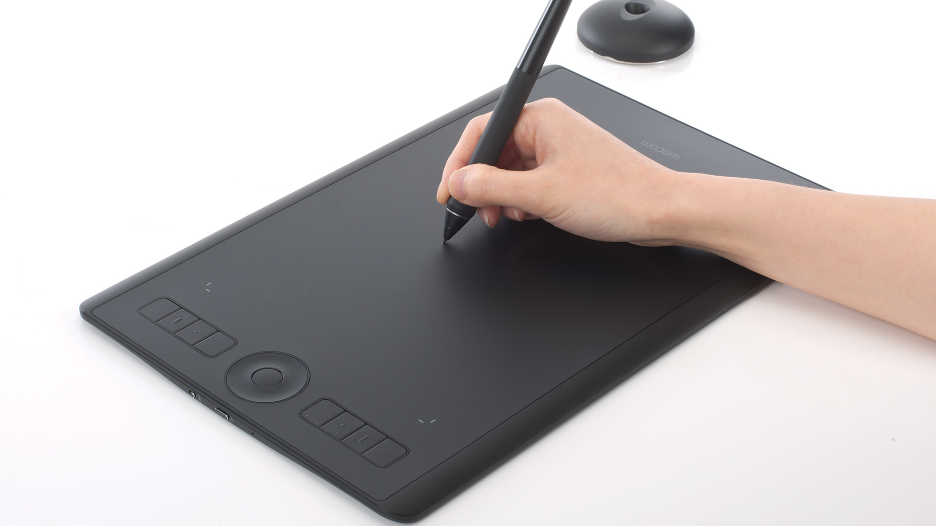
Image Source: wacom.com
There are more powerful tablets and cheaper tablets out there. Still, if you’re looking for a tablet for photography that offers exceptional value for the money, we recommend the Wacom Intuos Pro Large.
The Intuous is a pleasure to use for editing because of its rough, tactile surface and extremely sensitive stylus, and its mix of Bluetooth and USB connectivity makes it simple to power up the device and begin editing our photographs on a Windows or Mac computer.
The tablet recognizes pinching, swiping, and other multi-touch actions and its shortcut keys may be set to do any action we like. The Touch Ring, which allows us easy access to our preferred commands and tools, is very helpful. Although there are smaller Intuos Pro variants, the large, nearly A3-sized version is ideal if you have the room.
Pros
- Wireless connectivity
- Ergonomic design
- Large working area
Cons
- Not portable
- Lacks screen
Things to Consider When Looking for the Best Wacom Tablet for Photo Editing
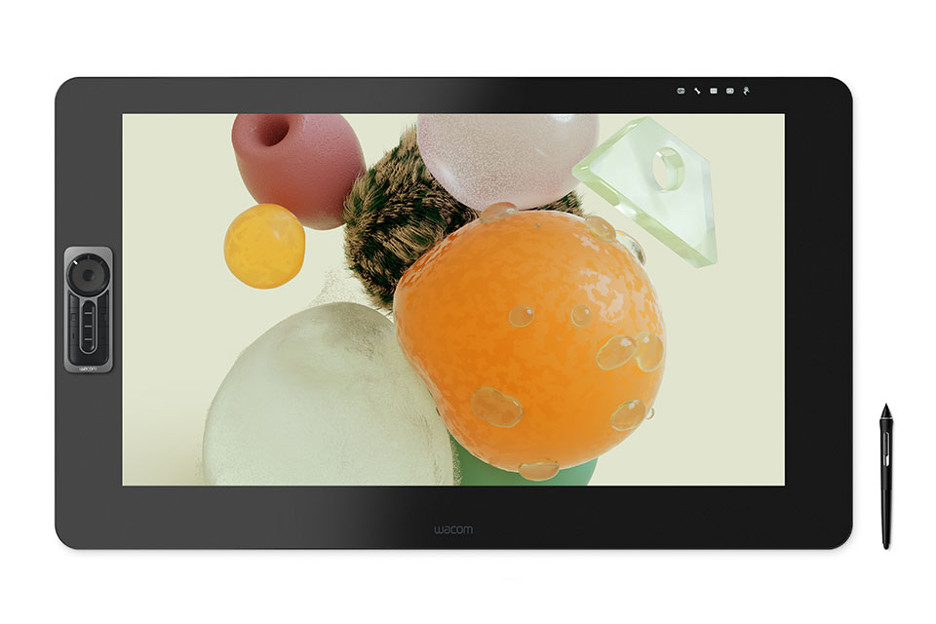
Image Source: wacom.com
1. Display
Several different Wacom tablets, including the Cintiq, Intuos, and others, were put through their paces with Adobe’s and Corel’s creative suites. These Wacom models seemed quite quality and pricey compared to competitors like the Huion or XP-Pen; thus, we gave them a higher rating.
Models with better displays and more minimal designs fared better in the ratings. The display has no problems with colors, pen pressure, or anything else that would cause an artist any headaches.
2. Pressure Sensitivity
Pressure Sensitivity is a feature that enables users to accurately record how firmly or softly they are gripping and pushing the pen against the tablet in order to simulate the action of pressing a paintbrush or marker into paper.
Although it might not be essential to photo retouching, it is significant for designers and illustrators. Nevertheless, it still translates into actions like adding a mask and adjusting the intensity of an effect.
3. Customizable Buttons
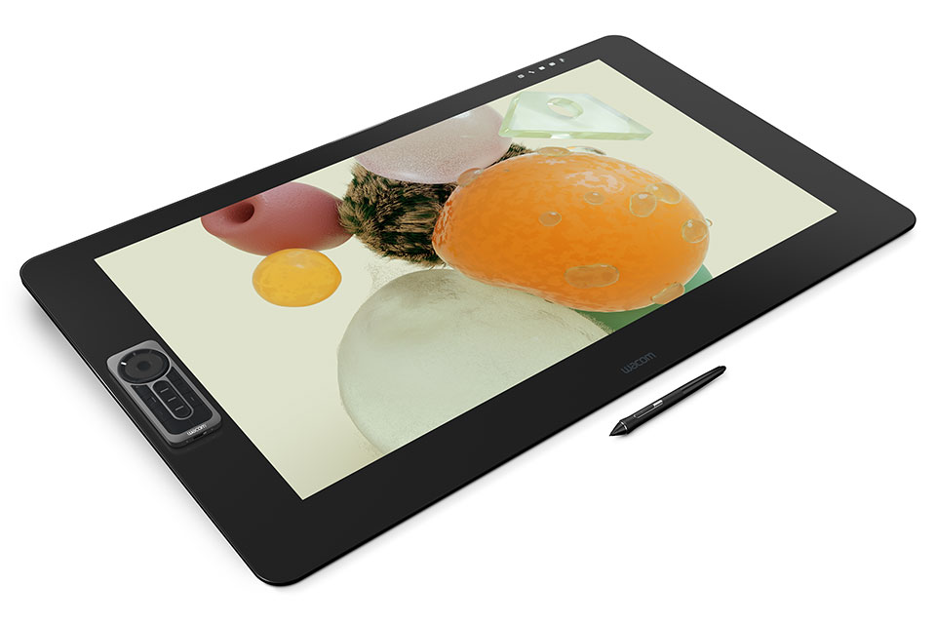
Image Source: wacom.com
The ability to program their most often used instructions into customizable buttons and dials gives each user more freedom and makes editing considerably more distraction-free.
Users may easily zoom, scroll, and switch between tools without returning to their keyboards thanks to the addition of the buttons, jog dials, and wheels, allowing them to focus on the task at hand.
4. Accuracy
One of the most crucial features of any tablet is accuracy. The greatest of them will respond to users as if they were sketching on paper or a canvas with a paintbrush, responding to each and every tiny movement of your pen stroke.
Some less expensive tablets could not be as sensitive or accurate, which could result in less-than-ideal pen strokes. This also pertains to how much tilt the tablets can tolerate, as some less expensive tablets will stop working with the pens if you have them too tilted.
5. Connectivity
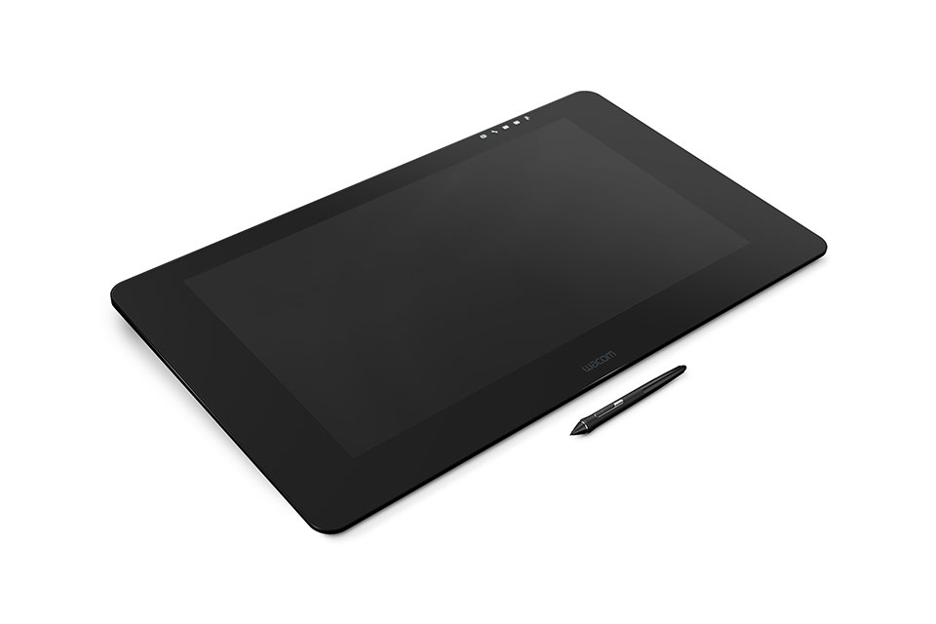
Image Source: wacom.com
The accessibility of connectivity alternatives is also important: Is it only wired? Does it have Bluetooth capability? Does it require a WiFi dongle or an adapter? The better it is received, the more latitude a user has with their tablet and the longer the battery life.
Do you know if there’s a screen on it or not? Some digital artists and animators work best when they can see their brush or pencil strokes in real time beneath their fingertips. Although a tablet display is not required for photographers, some do like it because it can help them save important desk space, especially when working remotely.
6. Size
Other factors that are taken into account include the tablet’s size. Most photo editors prefer a smaller tablet and surface since it makes it easier to work on minute details and is more portable. On the other hand, designers and illustrators will prefer a drawing surface that is much larger so they may produce in a more natural setting.
How to Improve Your Digital Imaging Skills with a Wacom Tablet
1. Put Emphasis on the Color
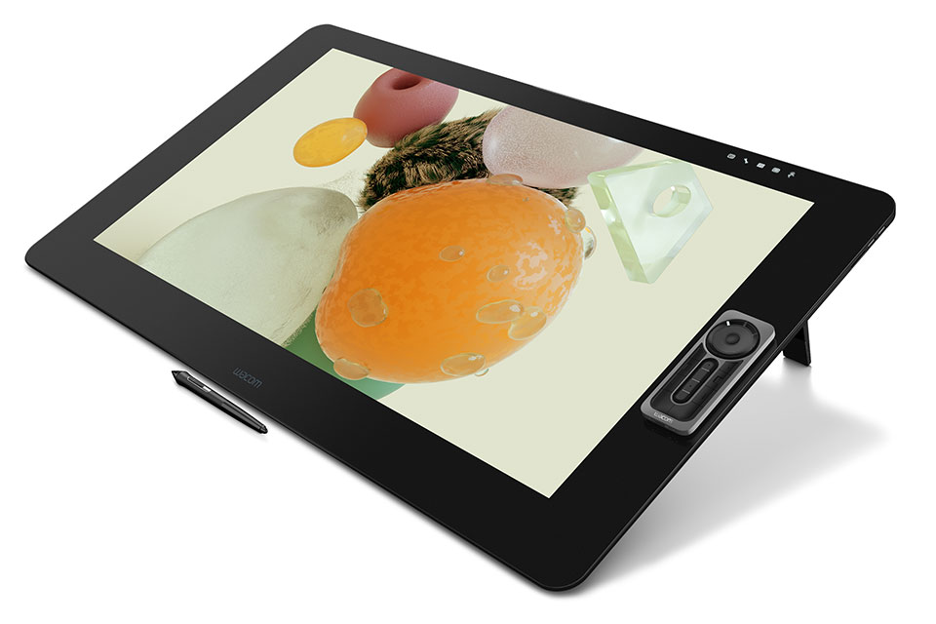
Image Source: wacom.com
When it comes to photo editing, color is a major factor. Whether it’s a mountain landscape or a selfie after a night on the town, adjusting the colors in an image may make it stand out instantly.
If you’re just getting started with photo editing, I recommend playing with the auto levels and color settings. If you click one of these, the software will instantly improve your photo in that way.
Adjusting the color and saturation of a photo is a simple and fast editing technique. Photos that are otherwise lackluster can be made to “pop” when the appropriate combination of settings and effects is applied.
2. The Use of Cropping and Rotation
You can vastly improve a simple image with the use of cropping and rotation tools. You can rotate the image such that the verticals and the horizontals are parallel to the picture’s borders; this is particularly useful for landscape photographs with a horizontal horizon.
It’s simple to make a picture more captivating and enhance the composition by cropping out irrelevant elements. Even minor adjustments to cropping can have a noticeable impact. You can crop automatically within predetermined boundaries or select the exact region you wish to remove by hand.
3. Desaturation / Black and White
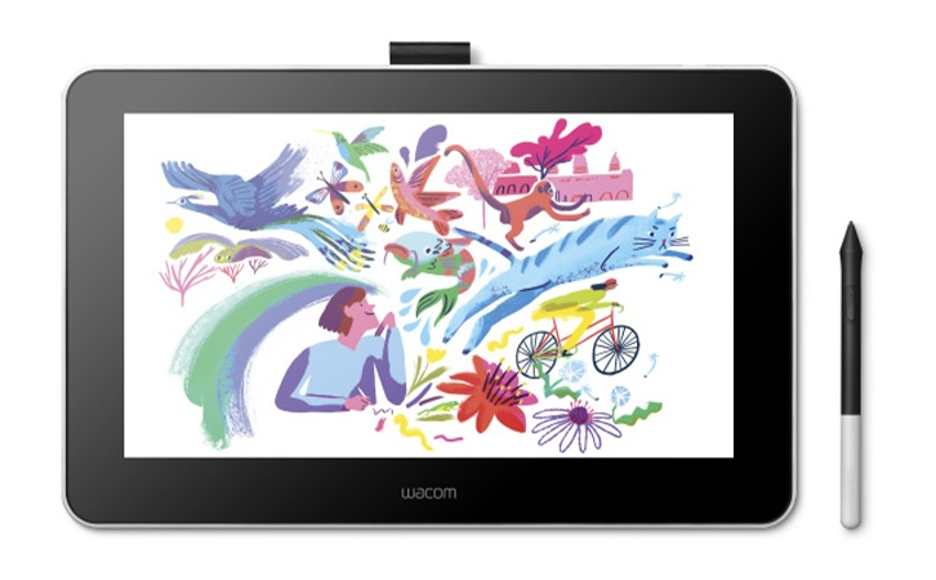
Image Source: wacom.com
Desaturation software lets you easily convert color photos to monochrome. While most programs and apps will do this automatically for you, you can also use your picture editing software’s hue/desaturation abilities to adjust the saturation levels and determine how your image will look in black and white.
This alternative approach can also be used to incorporate some of the original photos’ colors. The effect will be somewhat subdued. This more sophisticated, manual approach has the added benefit of not turning the original into black and white indefinitely.
4. Use Keyboard Shortcuts to Speed Up Your Work
Learning your software’s shortcuts will save you time when altering many images or going beyond simple cropping and color adjustments.
You can generally find these in the menus of your editing software, along with helpful explanations of the keys you need to hit to activate the feature. Use Command + C to copy and Command + V to paste.
From adjusting auto levels to applying filters, there are shortcuts for practically everything. Spend some time learning them, and you’ll see a big improvement in your editing speed.
5. Try Different Default Settings
It takes practice to become proficient at making your own effects in picture editing software. Thankfully, the best photo editing tools provide presets that make it simple to apply various effects with a single click.
They’ll speed up your productivity and teach you about its effects simultaneously. To achieve a more unique and polished result, you can learn what each default setting does and then manually adjust your images.
6. Modify Volume and Pitch With Levels and Curves
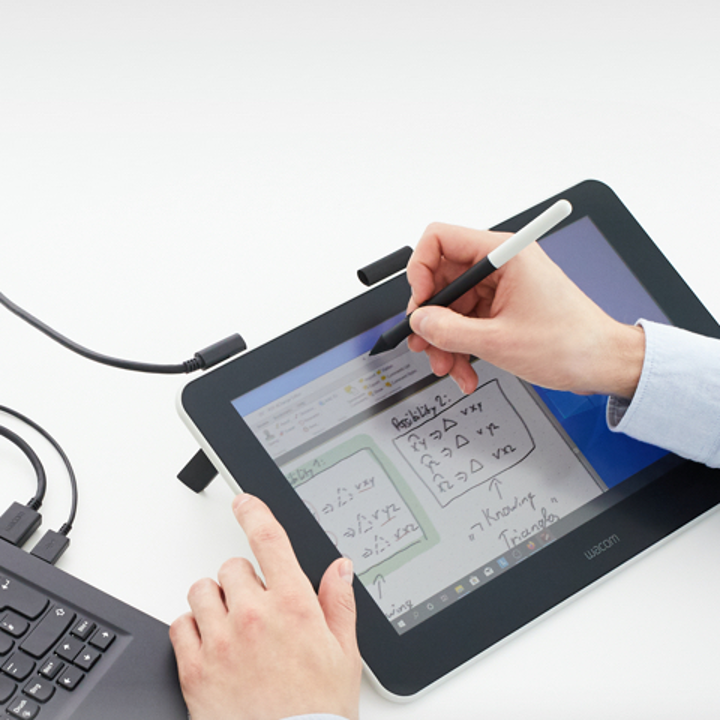
Image Source: wacom.com
One of the most crucial components of photo editing is adjusting the tone of an image. Using levels and curves, you can simply boost contrast in the image and give it a more polished look, both of which are signs of a professional’s work.
Black and white tones can be modified using levels and curves. To modify only some portions of the tonal range rather than the entire thing, use a curve instead of the levels, which will affect everything in between. Editing curves is more challenging than editing straight lines, but if you get the hang of it, you’ll be able to add significant detail.
Frequently Asked Questions (FAQs) on Wacom Tablets
1. Can Wacom Be Used for Photoshop?
Both Adobe Photoshop and Adobe Lightroom are compatible with Wacom tablets. They work with a wide variety of other high-quality, pen-input professional photo-editing programs. You can now use a pen instead of a mouse, giving you greater control over your brush strokes and editing.
2. Is a Graphics Tablet Required for Photo Editing?
Using a graphics tablet or pen tablet for photo editing is necessary if you want to execute complex, very fine, precise details, and a mouse is not cutting it. A mouse will do the trick if you just want to make a few minor adjustments to your images or do some little editing.
Pen tablets include a built-in display that allows for exact control during the editing process, and their design effectively mimics the feel of a real pen. It’s unusual to find a display on a graphics tablet.